Apollo Group TV First Time Use
Table of Contents

Congratulations! You’ve successfully installed your chosen IPTV player and connected it to your Apollo Group TV subscription. The app is loaded, the channels are appearing, and a world of entertainment is now at your fingertips. But for a first-time user, launching the application can sometimes feel a bit overwhelming. Where do you start? How do you find what you want to watch? And how can you make the app truly yours?
This comprehensive guide is specifically designed to empower you during your initial journey with the Apollo Group TV application. We’ll move beyond installation and focus squarely on the user experience from the very first launch. Our aim is to demystify the core functionalities, teach you how to efficiently navigate the interface, discover the vast array of content, and begin personalizing your viewing environment. By understanding these fundamental aspects, you’ll not only overcome any initial apprehension but also quickly transform into a confident user, ready to explore, enjoy, and master your Apollo Group TV streaming experience. Get ready to embark on a seamless entertainment adventure!
Navigating Your IPTV Player: The First Impression
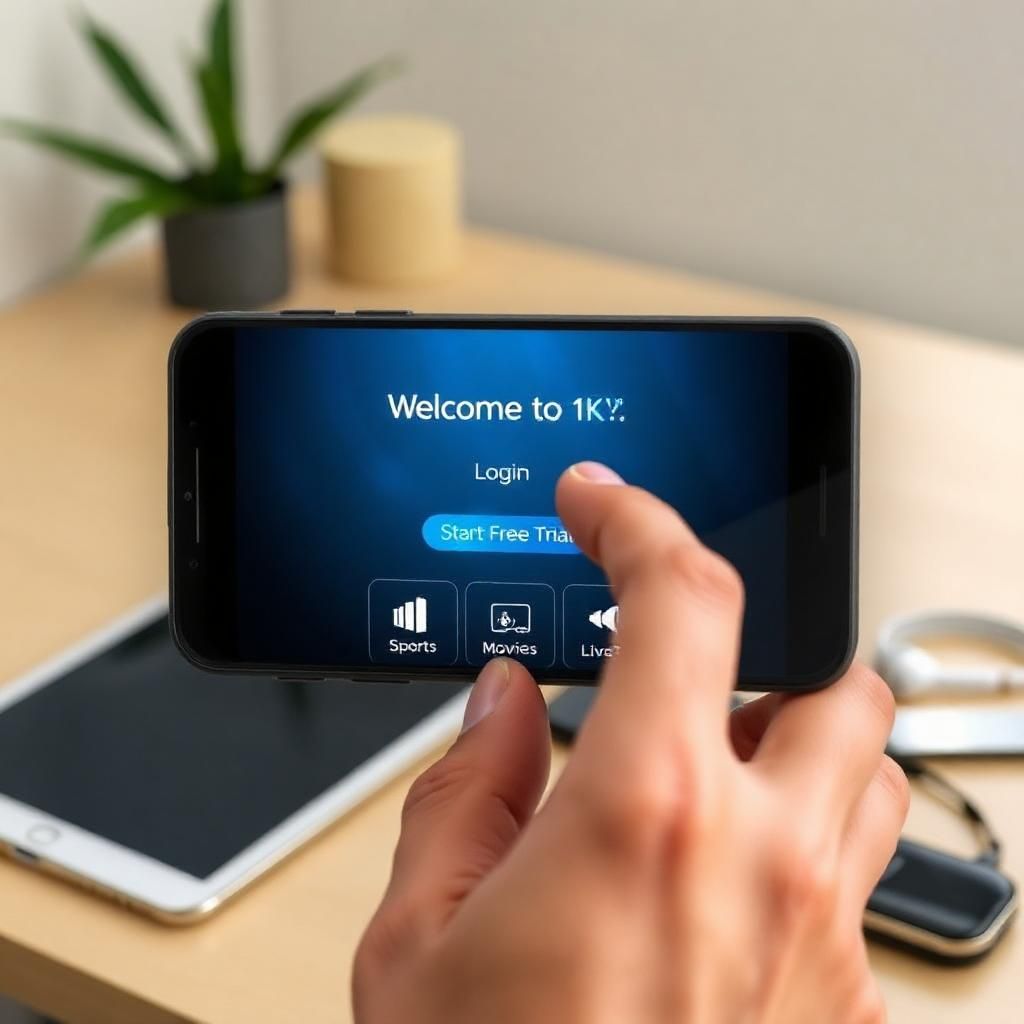
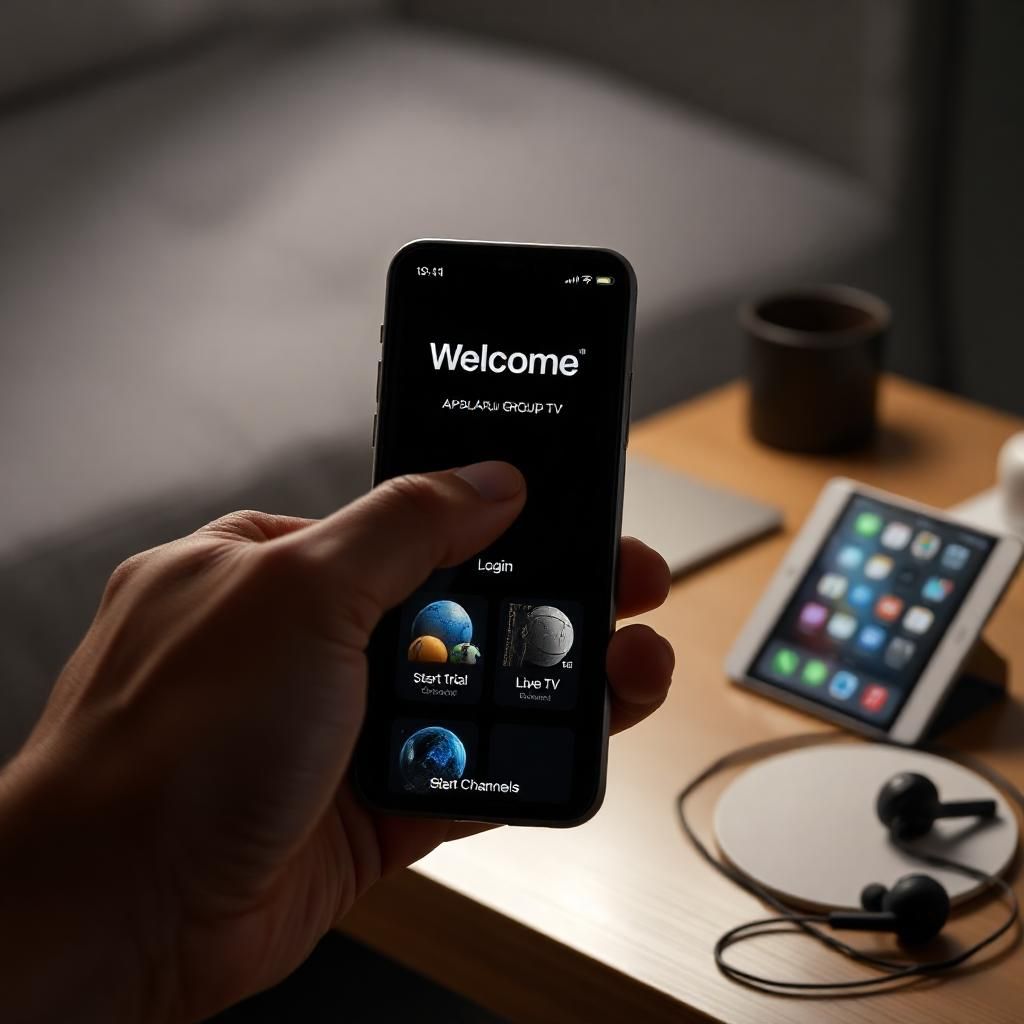
Upon launching your IPTV player (e.g., IPTV Smarters Pro, TiviMate, GSE Smart IPTV) for the first time after configuration, you’ll typically be greeted by a main dashboard. This dashboard is your central hub for accessing all Apollo Group TV content and features. While interfaces vary slightly, common elements are present across most popular applications.
Understanding the Main Screens/Sections:
- Live TV: This is usually the default screen, displaying a list of channels or the Electronic Program Guide (EPG).
- Movies (VOD – Video On Demand): A section dedicated to on-demand movies, categorized by genre, popularity, or release date.
- Series (VOD – Video On Demand): Similar to movies, but for TV series, often organized by season and episode.
- Catch-Up TV (or “Archive” / “Replay”): If available with your Apollo Group TV subscription, this allows you to watch previously aired programs from certain channels.
- EPG (Electronic Program Guide): A crucial feature that provides a detailed TV schedule, showing what’s currently playing and what’s coming next.
- Settings: Where you can customize the app’s appearance, playback options, and other preferences.
- Search: A vital tool for quickly finding specific channels, movies, or series.
Basic Navigation Techniques:
- Remote Control (for TV boxes/Fire Sticks):
- Arrow Keys (Up, Down, Left, Right): To move between menu items, channels, or content thumbnails.
- OK/Select Button: To confirm a selection or open a channel/item.
- Back Button: To return to the previous screen or menu.
- Home Button: To go back to the app’s main dashboard or exit the app (depending on the device).
- Menu Button (Context Menu): Often used to bring up additional options for a selected item.
- Touchscreen (for Smartphones/Tablets):
- Tapping: To select items or open menus.
- Swiping: To scroll through lists or pages.
- Pinching/Zooming: Less common, but might be used for some features.
- Back Button (on Android devices): Physical or on-screen button to go back.
- Mouse/Trackpad (for PCs/Laptops):
- Standard mouse clicks and scrolling.
Your First Stream: Watching Live TV
For most users, the first thing they want to do is jump into live television. Here’s how to do it efficiently.
A. Accessing Live TV:
- Select “Live TV”: From the main dashboard, navigate to and select the “Live TV” section.
- Choose a Category (If applicable): Many apps organize channels into categories (e.g., “News,” “Sports,” “Movies,” “International,” “USA,” “UK”). Select the category you’re interested in.
- Browse Channels: You’ll see a list of channels within that category. Scroll through the list using your remote or by swiping.
- Select a Channel: Tap or press “OK/Select” on the channel you wish to watch.
B. In-Stream Controls (While Watching a Channel):
Once a channel starts playing, you’ll have various controls at your disposal. These usually appear when you tap the screen (mobile) or press the “OK/Select” button (remote).
- Play/Pause: Though less common for live TV, some apps might offer this for buffering or brief pauses.
- Stop: To stop playing the channel.
- Full Screen: To switch to or from full-screen viewing.
- Aspect Ratio: To adjust the picture’s aspect ratio (e.g., 16:9, 4:3) if it looks stretched or squeezed.
- Audio Tracks: To select different audio languages if available.
- Subtitles/Closed Captions: To enable, disable, or select subtitle tracks if available.
- Quick Channel Switching:
- Up/Down Arrows: On a remote, pressing Up/Down usually switches to the next/previous channel in your list.
- Swipe (Mobile): Some apps allow swiping left/right or up/down on the screen to change channels.
- Exit/Back: To go back to the channel list or main menu while the channel may continue playing in a small window (picture-in-picture).
Exploring the Electronic Program Guide (EPG)
The EPG is your TV schedule, a powerful tool for discovering content and planning your viewing.
A. Accessing the EPG:
- Dedicated EPG Button: Many apps have a specific “EPG” or “Guide” button on their main dashboard.
- Within Live TV: Sometimes, while watching live TV, pressing the “Menu” or “OK” button will bring up a smaller EPG view.
B. Navigating and Using the EPG:
- Time Slots: The EPG displays channels vertically and time slots horizontally.
- Scrolling: Use arrow keys or swiping to scroll through channels and time.
- Program Information: Select a program to see its title, description, start/end times, and possibly genre.
- Scheduling/Reminders: Some EPGs allow you to set reminders for upcoming shows.
- Catch-Up (If available): If a channel supports Catch-Up, you might be able to select a past program from the EPG and start watching it. This is a powerful feature for not missing your favorite shows.
Discovering On-Demand Content: Movies & Series (VOD)

Beyond live TV, Apollo Group TV often offers a rich library of Movies and Series (VOD).
A. Accessing VOD Sections:
- Main Menu: From the app’s main dashboard, select “Movies” or “Series.”
- Categories/Genres: VOD content is usually organized into genres (Action, Comedy, Drama, etc.). Select a category to browse.
- Search: Use the search function to find a specific title if you know what you’re looking for.
B. Playing and Controlling VOD:
- Select a Title: Tap or click on the movie or series you want to watch.
- View Details: You’ll typically see a summary, cast, rating, and options to play.
- Play Button: Tap or click the “Play” button to start streaming.
- Playback Controls: Similar to video players:
- Play/Pause: To control playback.
- Rewind/Fast Forward: To skip backward or forward (often by 10-30 seconds or through a scrub bar).
- Volume: Adjust audio level.
- Subtitles/Audio Tracks: Select language options.
- Episode Selection (for Series): For series, you’ll have an option to select specific seasons and episodes.
Personalizing Your Apollo Group TV Experience
Making the app your own enhances usability and enjoyment.
A. Creating Favorites:
One of the first things many users do is mark their favorite channels or shows.
- Find the “Favorite” Option:
- Live TV: While watching a channel, or in the channel list, look for a “star” icon, a “heart” icon, or a “Add to Favorites” option in the context menu (often by long-pressing on a channel or pressing a specific button on the remote).
- VOD: Similarly, for movies or series, there might be an option to add them to a “Watchlist” or “Favorites” section.
- Accessing Favorites: Most apps will create a dedicated “Favorites” category in your Live TV section or main menu for quick access to your preferred content.
B. Adjusting Language and Subtitle Settings:
- App Language: In the main “Settings” of the IPTV app, you can usually change the display language of the app’s interface itself.
- Audio Tracks: While watching a program (live or VOD), look for an “Audio” icon or button to select different audio languages if available.
- Subtitles/Closed Captions: Similarly, look for a “CC” or “Subtitles” icon to enable, disable, or select subtitle languages. You might also be able to customize their appearance (font size, color) in the app’s general settings.
C. Playback Settings (Basic):
- Video Quality: Some apps allow you to manually select the video quality (e.g., SD, HD, 4K) if your internet connection is unstable or you want to save data.
- Player Type: Advanced users might be able to choose between internal players or external players (like VLC or MX Player) for specific formats. This is usually in the main Settings.
Beyond the Basics: Tips for First-Time Apollo Group TV Users
To ensure a smooth and enjoyable experience from day one, consider these additional tips:
- Familiarize Yourself with Your Specific App: While this guide covers general features, each IPTV player (IPTV Smarters Pro, TiviMate, GSE Smart IPTV, etc.) has its own unique nuances. Spend some time exploring all the menus and options within your chosen app.
- Check Your Internet Speed: Before you stream, ensure your internet connection is stable and fast enough. Use a speed test app (like Speedtest.net) on your device. For smooth HD streaming, 20-30 Mbps is recommended; for 4K, aim for 50+ Mbps.
- Clear Cache Regularly: Over time, the app’s cache can build up and potentially affect performance. Learn how to clear your app’s cache (usually in your device’s settings under “Apps” or “Storage”) to keep it running smoothly.
- Use a VPN (Optional but Recommended): A Virtual Private Network (VPN) can enhance your online privacy and may help prevent buffering issues if your Internet Service Provider (ISP) is throttling IPTV traffic. If you use one, ensure it’s a reliable, paid service.
- Keep Your Subscription Credentials Handy: Always keep your Apollo Group TV Username, Password, and Server URL (from the email) in a secure, easily accessible place. You might need them again for future re-configurations or if you install the app on a new device.
- Explore All Content: Don’t just stick to live TV. Dive into the VOD sections for movies and series; you might discover hidden gems. Also, check out Catch-Up TV if your service offers it.
- Reach Out for Support: If you encounter persistent issues that this guide doesn’t cover, don’t hesitate to contact Apollo Group TV’s customer support. Provide them with details about your device, the app you’re using, and the specific problem.
Conclusion: Unlock the Full Potential of Apollo Group TV from Day One
Navigating your Apollo Group TV application for the first time marks the exciting beginning of a vast entertainment journey. By understanding the layout, mastering basic controls, and exploring the EPG and on-demand libraries, you’re already well on your way to becoming a proficient user.
This guide has equipped you with the essential knowledge to confidently use your chosen IPTV player, personalize your viewing, and troubleshoot any initial hurdles. Remember, a smooth first-time experience is the foundation for continuous enjoyment. Embrace the flexibility and extensive content that Apollo Group TV offers, and let your mobile device become your ultimate portal to premium entertainment, anytime, anywhere. Enjoy your seamless streaming experience!