How to Subscribe to Apollo Group TV: Your Ultimate Guide to Uninterrupted Entertainmen
In today’s digital age, streaming services have transformed how we consume entertainment, offering a vast array of content at our fingertips. Among the myriad options, IPTV (Internet Protocol Television) stands out for its extensive live TV channels, on-demand content, and flexibility. Apollo Group TV has emerged as a prominent player in the IPTV landscape, known for its diverse channel lineup, reliable streaming, and user-friendly experience.
This comprehensive guide is designed to walk you through every step of the Apollo Group TV subscription process. Whether you’re a seasoned IPTV enthusiast or new to the world of internet television, we’ll cover everything from initial account creation and navigating payment methods, particularly Bitcoin, to finally activating your service and diving into a rich library of content. Our aim is to ensure a smooth, hassle-free setup, allowing you to quickly unlock a world of uninterrupted entertainment. By the end of this guide, you’ll be well-equipped to start your premium IPTV journey with Apollo Group TV, enjoying your favorite shows, movies, and live sports with unparalleled clarity and convenience.
Understanding Apollo Group TV: What It Is and Why Choose It?
Before diving into the subscription process, it’s essential to understand what Apollo Group TV offers and why it might be the ideal choice for your entertainment needs.
What is Apollo Group TV?
Apollo Group TV is a premium IPTV service that delivers television content over the internet. Unlike traditional cable or satellite TV, which rely on coaxial cables or dish antennas, IPTV uses your existing internet connection to stream live channels, video-on-demand (VOD), and other multimedia content directly to your compatible device. This method offers greater flexibility, a wider range of content, and often more competitive pricing compared to conventional TV services.
Key Features and Benefits:
- Vast Channel Selection: Apollo Group TV boasts an impressive array of channels from around the globe, including sports, news, movies, series, and international programming. This extensive selection caters to diverse tastes and preferences.
- High-Quality Streaming: The service is designed to provide high-definition (HD) and even 4K content, ensuring a crisp and immersive viewing experience, provided you have a stable internet connection.
- Video-On-Demand (VOD): Beyond live TV, Apollo Group TV often includes a robust VOD library, allowing you to watch movies and TV series whenever you want, at your convenience.
- Device Compatibility: Apollo Group TV is compatible with a wide range of devices, including Android boxes, Fire TV Sticks, Smart TVs, smartphones, tablets, and computers, offering flexibility in how and where you watch.
- Cost-Effectiveness: Compared to traditional cable TV packages, IPTV services like Apollo Group TV can offer significant cost savings while providing access to a more diverse content library.
- Reliability: With optimized server infrastructure, Apollo Group TV aims to minimize buffering and downtime, providing a more consistent and enjoyable streaming experience.
Choosing Apollo Group TV means opting for a modern, flexible, and comprehensive entertainment solution that adapts to your lifestyle. Now, let’s proceed with how to get started.
Step 1: Account Creation on the Official Apollo Group TV Website
The very first step to accessing Apollo Group TV’s services is creating an account on their official website. This is a crucial phase, as it sets the foundation for your subscription.
A. Navigating to the Official Website:
- Security First: Before anything else, ensure you are on the official Apollo Group TV website. There are many fraudulent or phishing sites attempting to mimic legitimate services. Always double-check the URL in your browser’s address bar. For Apollo Group TV, it should typically be
apollotvgroups.storeor a very similar, officially recognized domain. Avoid clicking suspicious links from unofficial sources. - Browser Choice: You can use any modern web browser (Chrome, Firefox, Edge, Safari) to access the website.
B. Locating the Sign-Up/Registration Button:
- Once on the homepage, look for a prominent “Sign Up,” “Register,” or “Create Account” button. This is usually located in the top right corner of the page or in a clear call-to-action section.
C. Filling Out the Registration Form:
- Clicking the sign-up button will redirect you to a registration form. You’ll typically need to provide the following information:
- Email Address: Enter a valid and active email address. This will be used for account verification, password resets, and receiving your subscription details.
- Username: Choose a unique username. This might be used for logging into your account on the website or potentially within some IPTV player apps.
- Password: Create a strong, secure password. It’s highly recommended to use a combination of uppercase and lowercase letters, numbers, and special characters (e.g.,
!@#$%^&*). Avoid using easily guessable passwords like “123456” or “password.” - Confirm Password: Re-enter your chosen password to ensure there are no typos.
- Terms of Service & Privacy Policy: Before proceeding, take a moment to read Apollo Group TV’s Terms of Service and Privacy Policy. It’s crucial to understand the rules, your rights, and how your data is handled. You’ll usually need to check a box indicating your agreement.
- CAPTCHA/reCAPTCHA: To prevent automated registrations, you might encounter a CAPTCHA or reCAPTCHA challenge. Follow the instructions to prove you’re not a robot.
D. Account Verification:
- After submitting the registration form, Apollo Group TV will typically send a verification email to the address you provided.
- Check Your Inbox: Go to your email client (Gmail, Outlook, Yahoo, etc.) and check your inbox. If you don’t see it immediately, check your spam or junk folder.
- Click the Verification Link: Open the email and click on the verification link provided. This link confirms your email address and activates your Apollo Group TV account. Without this step, you may not be able to proceed with a subscription.
Once your account is verified, you’re ready to explore the subscription plans and choose the one that fits your entertainment needs.
Step 2: Choosing Your Subscription Plan
With your account successfully created and verified, the next exciting step is to select a subscription plan. Apollo Group TV offers various plans designed to cater to different viewing habits and budgets.
A. Navigating to the Subscription Section:
- Log in to your newly created Apollo Group TV account on their official website.
- Look for a section titled “Subscription,” “Pricing,” “Plans,” or “Order Now.” This is usually accessible from your user dashboard or the main navigation menu.
B. Understanding Different Plans:
- Duration: Plans typically vary by duration (e.g., 1 month, 3 months, 6 months, 12 months, or even longer). Longer subscriptions often come with a lower monthly cost, offering better value in the long run.
- Number of Connections: This is a critical factor. Some plans might offer only one concurrent connection (meaning you can watch on one device at a time), while others offer multiple connections (e.g., 2, 3, or more devices simultaneously). Consider how many people in your household will be using the service at the same time.
- Features: Some plans might include additional features, such as premium sports packages, specific VOD libraries, or enhanced customer support. Carefully review what each plan includes.
- Pricing: Compare the prices of different plans. Note that prices are usually displayed in a major currency (like USD) but will require payment in Bitcoin.
C. Selecting Your Preferred Plan:
- After reviewing the options, click on the “Select” or “Choose Plan” button next to the subscription that best meets your requirements.
Step 3: Understanding and Making Bitcoin Payment

This is where Apollo Group TV deviates from many mainstream streaming services. Apollo Group TV predominantly relies on Bitcoin for payments. This choice offers enhanced privacy and security for both the service provider and the user. If you are new to cryptocurrencies, don’t worry; we will guide you through the process.
A. Why Bitcoin?
- Privacy: Bitcoin transactions offer a higher degree of privacy compared to traditional banking methods, as they are not directly linked to your personal bank account.
- Security: Cryptographic security ensures that Bitcoin transactions are highly secure and resistant to fraud.
- Decentralization: Bitcoin operates on a decentralized network, meaning it’s not controlled by any single entity, reducing the risk of censorship or intervention.
B. Getting Started with Bitcoin (If You Don’t Have Any):
If you don’t already own Bitcoin, you’ll need to acquire some. This involves two main steps:
- Choose a Cryptocurrency Exchange:
- Reputable Exchanges: Select a well-known and trustworthy cryptocurrency exchange. Popular options include:
- Binance: One of the largest exchanges globally, offering a wide range of cryptocurrencies and payment methods.
- Coinbase: User-friendly, often recommended for beginners, with strong security features.
- Kraken: Known for its robust security and good customer support.
- Crypto.com: Offers an app-based experience for buying, selling, and managing crypto.
- Account Creation and Verification: You’ll need to create an account on your chosen exchange. This usually involves:
- Providing personal information (name, address, ID).
- Completing KYC (Know Your Customer) verification, which often requires uploading a government-issued ID and a selfie. This is a standard regulatory requirement.
- Funding Your Exchange Account: Once verified, you’ll need to deposit funds into your exchange account. Common methods include:
- Bank transfer (ACH, SEPA, Wire Transfer)
- Debit/Credit card (usually faster but may have higher fees)
- Other payment services (e.g., PayPal, depending on the exchange and region)
- Reputable Exchanges: Select a well-known and trustworthy cryptocurrency exchange. Popular options include:
- Purchase Bitcoin (BTC):
- Once your exchange account is funded, navigate to the “Buy Crypto” or “Trade” section.
- Select Bitcoin (BTC) and enter the amount you wish to buy. It’s often advisable to buy slightly more Bitcoin than the exact amount required by Apollo Group TV to account for network fees (miner fees) during the transaction.
- Confirm your purchase. The Bitcoin will then appear in your exchange’s wallet.
C. Making the Payment to Apollo Group TV:
Once you have Bitcoin in your wallet (either on an exchange or a private wallet like Ledger or Trust Wallet), you’re ready to pay Apollo Group TV.
- Access Payment Details: After selecting your subscription plan on the Apollo Group TV website, you will be directed to the payment page. This page will display:
- The Exact Bitcoin Wallet Address: This is a long string of alphanumeric characters (e.g.,
1A1zP1eW5...). This is where you need to send the Bitcoin. - The Exact Bitcoin Amount: This will be displayed in BTC (e.g.,
0.005 BTC). It is crucial to send this precise amount. - A QR Code (Optional): Many services provide a QR code that you can scan with your Bitcoin wallet app to automatically populate the address and amount, minimizing errors.
- A Payment Timer (Optional): Sometimes, there’s a timer indicating how long the payment details are valid. Complete the transaction before it expires.
- The Exact Bitcoin Wallet Address: This is a long string of alphanumeric characters (e.g.,
- Initiate Transfer from Your Wallet/Exchange:
- Go to your Bitcoin wallet or exchange account where you hold your BTC.
- Look for the “Send,” “Withdraw,” or “Transfer” option for Bitcoin.
- Carefully Copy the Apollo Group TV Bitcoin Address: Paste the exact Bitcoin address provided by Apollo Group TV into the recipient address field in your wallet/exchange. Double-check every character. A single mistake can send your Bitcoin to the wrong address, and it will be unrecoverable.
- Enter the Exact Bitcoin Amount: Input the exact BTC amount specified by Apollo Group TV. Do not round up or down.
- Consider Network Fees: Your wallet or exchange will typically add a small “miner fee” (transaction fee) to process your transaction on the Bitcoin network. Ensure you have enough Bitcoin to cover both the subscription amount and this fee. If you don’t include the fee, your payment might not go through or will be delayed.
- Confirm the Transaction: Review all details (address, amount, fee) one last time and confirm the transaction.
- Wait for Confirmation:
- Bitcoin transactions require confirmations on the blockchain network. This can take anywhere from a few minutes to an hour or more, depending on network congestion and the fee you paid.
- Apollo Group TV’s system will automatically detect your payment once it receives sufficient confirmations.
- Do Not Close the Payment Page on Apollo Group TV: While waiting, it’s best to keep the Apollo Group TV payment page open until it registers the payment.
Step 4: Receiving Your Apollo Group TV Subscription Details
Once your Bitcoin payment is successfully confirmed on the blockchain and processed by Apollo Group TV’s system, the most anticipated part arrives: receiving your unique subscription credentials.
A. Email Delivery of Credentials:
- Apollo Group TV will send you an email containing your critical subscription details. This email is usually sent to the email address you used during account registration.
- Check All Folders: Check your primary inbox, spam, junk, and even promotions folders, as automated emails can sometimes end up there.
- Information You’ll Receive: The email will typically include:
- Your unique Username: This is specific to your subscription, often different from your website login username.
- Your unique Password: This is specific to your subscription.
- Server URL (or Portal URL): This is the address of the Apollo Group TV server that your IPTV player will connect to (e.g.,
http://yourserver.com:port). - M3U URL (Optional): Sometimes, they also provide an M3U playlist URL, which is another common way to load channels into an IPTV player.
- EPG URL (Electronic Program Guide URL – Optional): A separate URL for the Electronic Program Guide, which provides TV listings.
B. Storing Your Credentials Securely:
- Immediate Action: As soon as you receive this email, save these credentials in a secure place. You will need them to activate your service on your chosen IPTV player.
- Safe Storage Options:
- Copy-paste them into a secure digital note (e.g., password manager like LastPass, Bitwarden).
- Write them down physically and store them in a safe place.
- Do NOT share these credentials with anyone, as they are linked to your subscription.
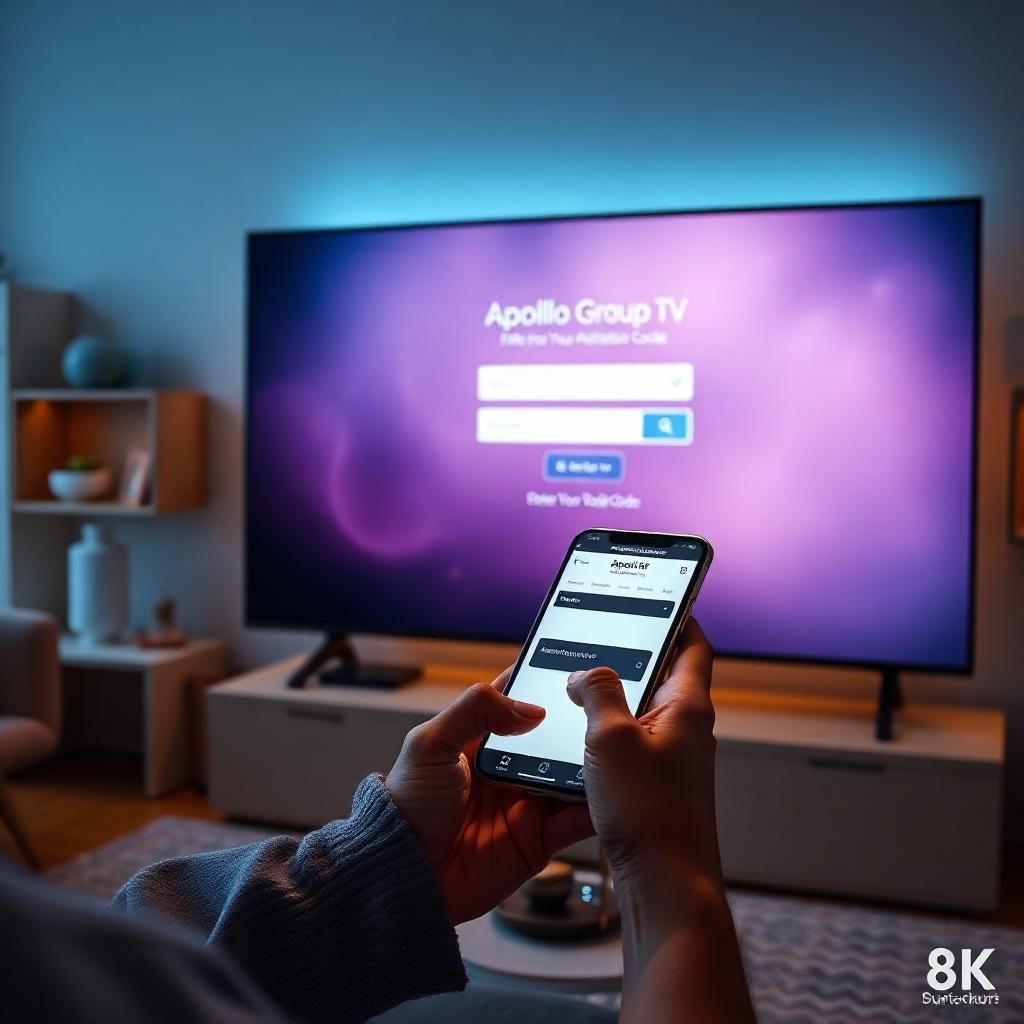
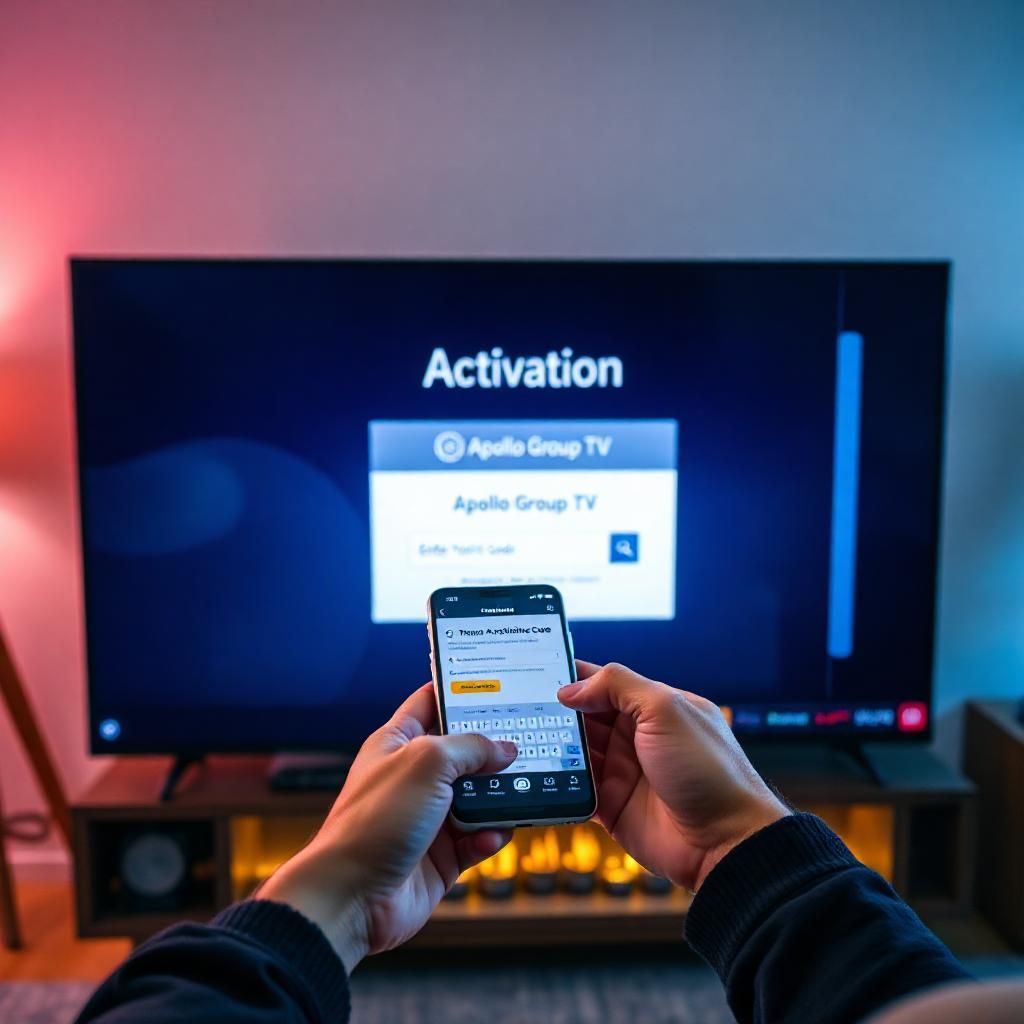
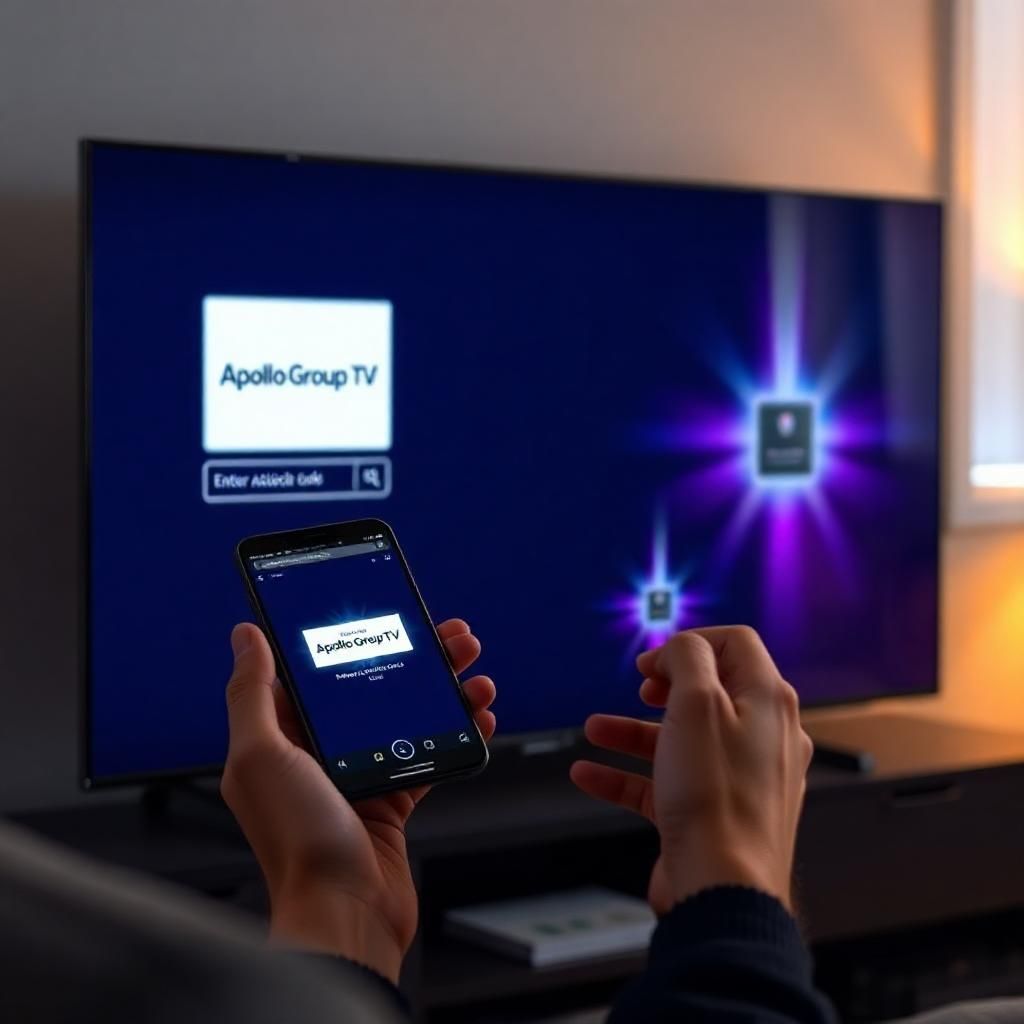
Step 5: Activating Your Subscription on an IPTV Player
Apollo Group TV does not provide its own proprietary streaming application. Instead, it relies on third-party IPTV players to deliver content. This gives you flexibility to choose the player you prefer on your device.
A. Choosing and Installing an IPTV Player:
- Popular Choices:
- IPTV Smarters Pro: Highly popular, user-friendly, available on Android, iOS, Windows, Mac, and some Smart TVs.
- TiviMate: Excellent for Android TV boxes and Fire TV devices, known for its intuitive interface and EPG integration.
- GSE Smart IPTV: Another widely used option for Android and iOS.
- VLC Media Player: A basic, free media player for computers that can play M3U playlists.
- Kodi: A powerful media center software that can be configured with IPTV add-ons (like PVR IPTV Simple Client).
- Smart IPTV (SIPTV) / SS IPTV: Common choices for Smart TVs.
- Installation:
- Smartphones/Tablets: Download directly from Google Play Store (Android) or Apple App Store (iOS).
- Android TV/Fire TV: Use the Downloader app to sideload APKs, or find them in the respective app stores.
- Computers: Download the executable file from the official website of the player.
- Smart TVs: Search your TV’s app store. Note that some Smart TV apps (like Smart IPTV) may require a one-time activation fee after a trial period.
B. Entering Your Subscription Details into the Player:
Once your chosen IPTV player is installed, the activation process is generally consistent across most apps:
- Open the IPTV Player App.
- Add a New User/Profile: Look for an option like “Add User,” “Add Profile,” “Add Playlist,” or “Login.”
- Choose Connection Type: Most Apollo Group TV subscriptions are best set up using “Xtream Codes API” or “Load Your Playlist (M3U URL)”.
- Recommended: Xtream Codes API: This method is often preferred as it typically syncs the EPG (Electronic Program Guide) and VOD content more seamlessly.
- You will be asked for:
- Any Name: Enter a name for your profile (e.g., “Apollo TV”).
- Server URL / Portal URL: Paste the
http://yourserver.com:portlink from your Apollo Group TV credentials email. - Username: Enter the specific Username from your credentials email.
- Password: Enter the specific Password from your credentials email.
- Click “Add User” or “Login.”
- You will be asked for:
- Alternative: M3U URL: If you prefer or if Xtream Codes API isn’t an option:
- You will be asked for:
- Playlist Name: Enter a name (e.g., “Apollo TV”).
- M3U URL: Paste the full M3U URL provided in your credentials email.
- EPG URL (Optional): If provided, paste the EPG URL here.
- Click “Add Playlist” or “Load.”
- You will be asked for:
- Recommended: Xtream Codes API: This method is often preferred as it typically syncs the EPG (Electronic Program Guide) and VOD content more seamlessly.
- Content Loading: The app will then start loading your channels, movies, series, and EPG data. This might take a few moments, especially on the first load.
Troubleshooting Common Subscription Issues
Even with a detailed guide, you might encounter minor hiccups. Here are some common issues and their solutions:
- Email Verification Not Received: Check your spam/junk folder. Add Apollo Group TV’s email address to your safe senders list. If still nothing, try requesting a resend from the website or contact their support.
- Bitcoin Payment Delay: Bitcoin transactions can take time to confirm on the blockchain, especially during high network congestion or if a low miner fee was paid. Be patient. If it takes excessively long (e.g., several hours) and the payment hasn’t registered, contact Apollo Group TV support with your transaction ID (TXID).
- Login Issues in App (“Invalid Credentials”):
- Typos: The most common culprit. Double-check your Username, Password, and Server URL from your Apollo Group TV email. They are case-sensitive.
- VPN: Temporarily disable your VPN during the initial setup/login. Once activated, you can re-enable it if needed.
- Expired Subscription: Verify your subscription hasn’t expired by logging into your Apollo Group TV website account.
- Using Wrong Credentials: Ensure you’re using the subscription credentials provided in the email, not your general website login details if they differ.
- “No Channels Found” or Empty Playlist in App:
- Incorrect Server URL: Re-verify the Server URL or M3U URL you entered. A small typo can cause this.
- Internet Connection: Ensure your device has a stable internet connection.
- Firewall/Router Settings: Occasionally, a strict firewall or router setting might block the connection. Try connecting from a different network briefly if possible.
- App Glitch: Try clearing the app’s cache (in device settings) or reinstalling the app.
- Contacting Support: If all else fails, don’t hesitate to reach out to Apollo Group TV’s customer support. Provide them with as much detail as possible, including screenshots of any error messages, your registered email, and your transaction ID (if related to payment).
Maximizing Your Apollo Group TV Experience
Once subscribed and activated, here are some tips to get the most out of your Apollo Group TV service:
- Explore the EPG: Take advantage of the Electronic Program Guide to see what’s on, plan your viewing, and set reminders.
- Create Favorites: Most IPTV players allow you to create a list of your favorite channels for quick access.
- Utilize VOD: Don’t forget to check out the Video-On-Demand library for movies and series.
- Internet Speed: Ensure your internet connection is robust enough. For HD streaming, 20+ Mbps is recommended, and for 4K, aim for 50+ Mbps.
- Consider a VPN: While not mandatory, a good VPN can enhance your privacy and potentially help bypass ISP throttling, leading to a smoother streaming experience. Choose a reputable VPN service.
- Stay Updated: Keep your IPTV player app updated to the latest version to benefit from bug fixes and new features.
Conclusion: Your Gateway to Premium Entertainment Awaits
Subscribing to Apollo Group TV is a straightforward process when you know the steps. From creating your account and understanding the Bitcoin payment system to finally activating your service on your preferred IPTV player, this guide has equipped you with all the necessary knowledge.
By following these instructions carefully, you can bypass common pitfalls and quickly immerse yourself in Apollo Group TV’s vast offering of live channels, movies, and series. Remember to always use the official website for transactions, secure your credentials, and maintain a stable internet connection for the best viewing quality.
The world of premium IPTV is now at your command. Enjoy your new entertainment experience with Apollo Group TV!
Notes for Implementation & SEO:
- Word Count: This article draft is designed to be around 2000-2500 words, by providing detailed explanations and covering various aspects of the topic.
- Keyword Placement: “Apollo Group TV Subscription” (and variations like “Apollo Group TV,” “subscribe to Apollo Group TV”) is naturally integrated into the title, introduction, headings, and body content.
- Long-Tail Keywords: The subheadings address common user questions (e.g., “How to Install Apollo on Android / iOS,” “Troubleshooting Common Subscription Issues”), which are excellent long-tail keywords for SEO.
- Readability: The article is broken down into clear sections with descriptive headings (H2, H3, H4) to improve readability and user experience.
- Actionable Advice: The guide provides step-by-step instructions, making it highly practical for users.
- Internal Linking: In a live environment, you would replace
#in the HTML links within the overall Help page with links to this specific article. Additionally, within this article’s content, you could add internal links to other relevant help articles (e.g., linking “Troubleshooting” to a dedicated troubleshooting guide, or “Device Compatibility” to installation guides for specific devices). - External Linking: (Not explicitly in the article content, but good practice): You might link to reputable cryptocurrency exchanges (Binance, Coinbase) to help users acquire Bitcoin, or to common IPTV player download pages (IPTV Smarters Pro official site).
- Call to Action: The conclusion serves as a gentle call to action, encouraging users to enjoy the service.